A successful cupboard installation can completely transform a space—whether it’s your kitchen, bedroom, or office. But the process? It’s more than just screwing panels together. Did you know that poor installation can reduce the lifespan of cupboards by nearly 50%? That’s a big deal when you’ve invested in high-quality cabinetry! At Homestead Kitchens, we’ve mastered the art of cupboard installations, ensuring everything from precision alignment to seamless integration into your space.
In this guide, we’ll walk you through the key steps for a flawless cupboard installation. Whether you’re doing it yourself or working with a contractor, these tips will save you time, money, and frustration. Ready to get started? Let’s dive in!
Why Proper Cupboard Installation is Critical
Cupboards are a significant part of any room, serving both functional and aesthetic purposes. But what many people overlook is that the way cupboards are installed can directly impact their durability, usability, and even the overall design of your space. Let’s break down why getting the installation right from the start matters.
- Structural Integrity
A poorly installed cupboard can cause the entire structure to warp over time. This not only affects the cupboard’s functionality but can also lead to costly repairs or replacements down the road. A well-installed cupboard, on the other hand, ensures stability and long-lasting performance. - Aesthetic Appeal
No one wants to see gaps between their cupboards or uneven doors. Precision installation guarantees a sleek, professional finish that enhances the beauty of your space. - Optimal Space Utilization
Proper cupboard installation ensures that you’re making the most of your available space. Misaligned cupboards can result in wasted storage or awkward gaps, while a well-fitted cupboard system maximizes both your storage and your room’s flow. - Longevity
When installed correctly, cupboards can last for decades. Incorrect installation, however, may put unnecessary strain on hinges and joints, causing wear and tear much faster than expected.
Planning Your Cupboard Installation
Before diving into the actual installation, it’s essential to have a well-thought-out plan. This phase can determine whether the process will go smoothly or turn into a nightmare of misaligned panels and missing screws.
1. Take Accurate Measurements
The old saying, “measure twice, cut once,” applies more than ever when it comes to cupboard installation. Proper measurements ensure your cupboards fit perfectly in the designated space without leaving unsightly gaps or tight squeezes.
- Room Dimensions: Measure the height, width, and depth of the area where the cupboards will be installed. This will help in choosing the right size units.
- Ceiling Height: Be mindful of the ceiling height, especially in kitchens. This will determine whether you opt for standard-height cupboards or taller, custom units.
2. Consider Layout and Functionality
The layout of your cupboards should be planned with both aesthetics and functionality in mind. Ask yourself the following questions:
- How will the cupboard doors open? Ensure there’s enough space for doors to open fully without hitting adjacent walls, appliances, or furniture.
- How much storage do you need? Plan for the number of shelves, drawers, and hanging spaces you’ll require based on the purpose of the cupboards.
- Will you need lighting? If the cupboard installation involves overhead storage, you might want to plan for integrated lighting to improve visibility inside the cupboards.
3. Choose High-Quality Materials
The quality of your cupboards is as important as the installation itself. At Homestead Kitchens, we recommend using sturdy, moisture-resistant materials, especially in areas like kitchens and bathrooms where humidity levels can be high. Opt for durable finishes that can withstand daily wear and tear, such as melamine or laminate for interiors, and hardwood for exteriors.
Step-by-Step Guide to Cupboard Installation
Now, let’s get into the actual installation process. Here’s a step-by-step guide to ensure your cupboard installation goes smoothly:
1. Prepare the Space
Clear the installation area of any debris, old fixtures, or other obstructions. It’s also a good idea to mark out the dimensions of your cupboards on the walls with a pencil or tape. This will help guide placement and ensure you’re installing everything in the correct location.
2. Install the Support Rails
If your cupboards are wall-mounted, the first step is to install a support rail. This will hold the weight of the cupboards while you’re screwing them into the wall. Ensure the rail is level and securely fastened to the studs in the wall, as these will provide the necessary support for heavy cupboards.
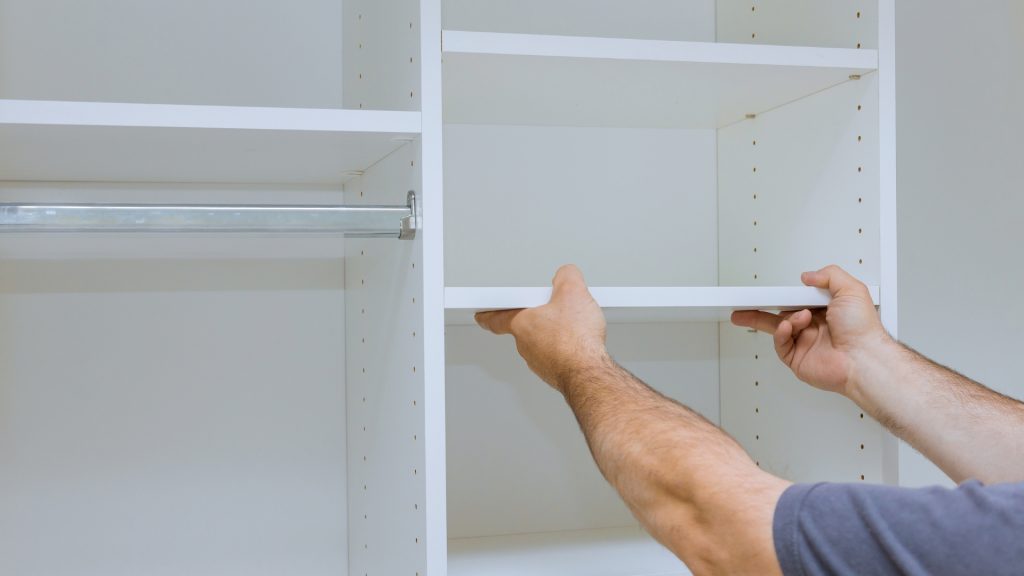
3. Hang the Wall Cupboards
Start by hanging the upper cupboards before installing the base units. This avoids having to work around lower cupboards and gives you more space to maneuver. Use the support rail as a guide to lift the cupboards into place and secure them with screws into the studs.
- Tip: Use a laser level to double-check that each cupboard is installed perfectly straight.
4. Install the Base Units
Once the upper cupboards are securely in place, it’s time to install the base units. Position them according to your floor plan, ensuring that each one is level. Use shims if necessary to adjust for any unevenness in the floor.
- Attach the base units together before securing them to the wall to ensure they align properly. You want a seamless look where each unit connects without gaps.
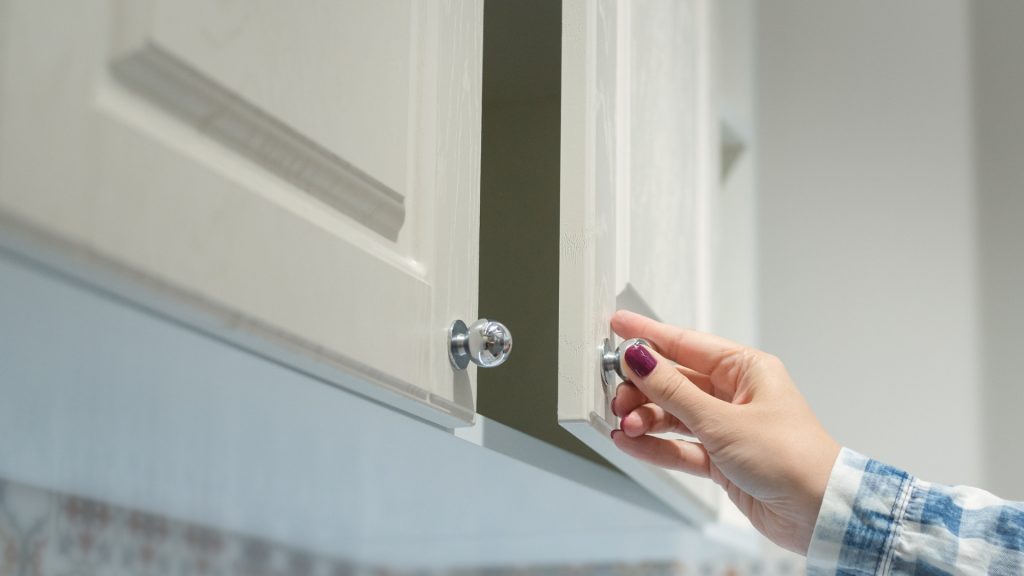
5. Add the Doors and Hardware
With the cupboard frames in place, it’s time to install the doors and hardware. Attach the hinges first, then align the doors so that they sit perfectly flush with the cupboard face. After the doors, install handles or knobs according to your design preference.
- Tip: Use soft-close hinges to prevent doors from slamming shut, prolonging the lifespan of both the cupboards and the hardware.
6. Seal the Edges
Finish the installation by sealing any visible gaps between the cupboards and the wall or ceiling with caulking. This not only improves the aesthetic but also prevents dust and moisture from getting into the cupboards.
Common Installation Mistakes to Avoid
Even with the best intentions, some common mistakes can ruin a cupboard installation. Here’s what to watch out for:
- Skipping the Support Rail: Failing to install a proper support rail can lead to sagging cupboards, especially when they are fully loaded.
- Misaligned Cupboards: Always use a level when installing cupboards. Even a slight tilt can be noticeable once the doors are attached.
- Overtightening Screws: While you want to secure cupboards firmly, overtightening screws can strip the wood or damage the framework.
Cupboard installation may seem like a daunting task, but with proper planning, attention to detail, and the right materials, it’s completely achievable—whether you’re doing it yourself or working with professionals. By following the steps outlined in this guide, you can ensure a smooth, efficient installation that will provide you with beautiful and functional storage for years to come.
At Homestead Kitchens, we pride ourselves on offering not just top-quality cupboards, but also the expert advice and services to make your installation a breeze. If you need assistance with your project or want to explore custom cupboard options, reach out to us today! We’re here to help you create a space that’s both stylish and practical.